How to Make a Hand-Stitched Leather Keyring: A Beginner's Tutorial
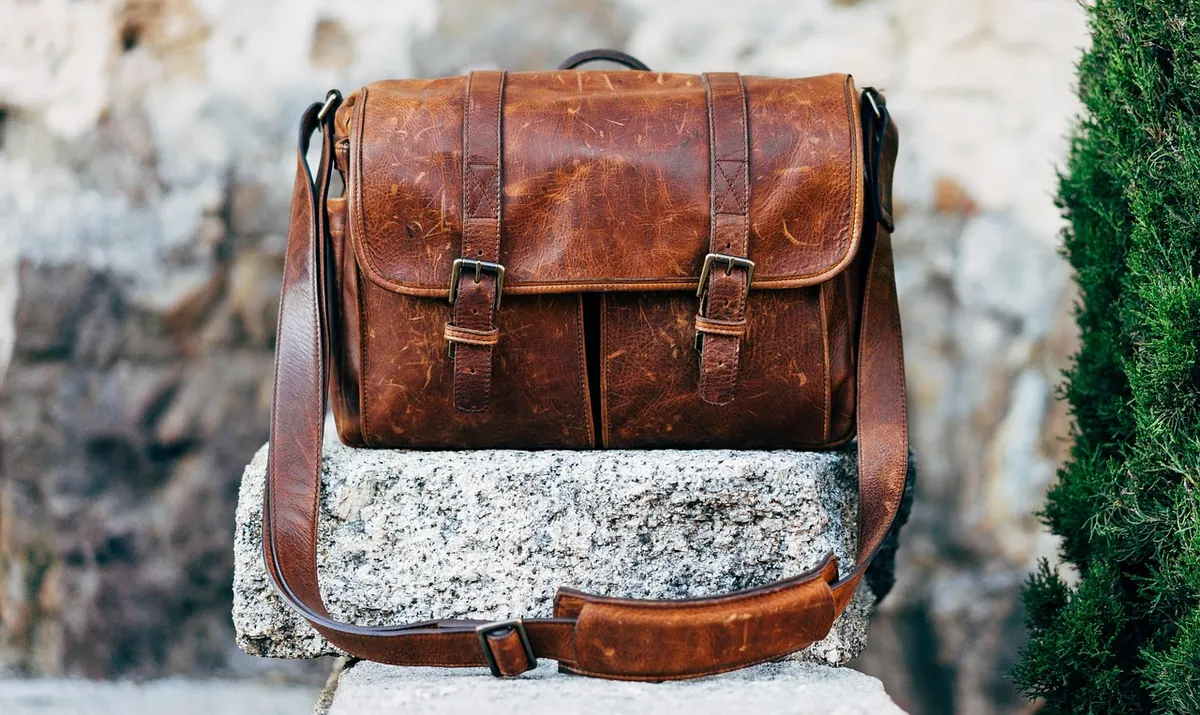
A leather keyring is the ideal first project. It costs very little in materials, fits in a coat pocket, and teaches cutting, edge finishing, hand stitching and riveting in a single evening. This tutorial walks through a folded fob: one strap, looped through a split ring, stitched down both sides, with the edges burnished until they shine.
Tools and Materials
You don't need a workshop. A modest kit will do, though a sharp blade and decent thread make more difference than any other purchase.
- Leather: vegetable-tanned, 2–3 mm thick. A strip 20 cm long and 2.5 cm wide is plenty, plus an offcut or two for practice.
- Cutting: a sharp craft knife or scalpel, a metal ruler and a cutting mat.
- Stitching chisels (pricking irons), 3 mm spacing. Tighter spacing looks finer but is harder to keep straight.
- Two blunt harness needles and waxed thread, 0.6–0.8 mm.
- Edge tools: an edge beveller, a burnisher, fine sandpaper (400 and 800 grit), and gum tragacanth or plain water.
- Marking: a wing divider or a stitching groover to run a line parallel to the edge.
- Other: a mallet, a punching board or scrap of plastic chopping board, and contact adhesive.
- Hardware: a 25 mm split ring, plus a double-cap rivet and setter — or a copper rivet and burr for a more traditional look.
Optional extras: dye, neatsfoot oil, beeswax, and a stamp set for initials. None are essential for a first attempt.
Cutting the Leather
Cut a card template first: a strip 12 cm long and 2.5 cm wide, with the corners of one end rounded off using a coin as a guide. Trust the template rather than the ruler alone — it's easier to check against the leather than to hold numbers in your head.
Place the leather on the mat, lay the template on top and mark around it with an awl or a fine pencil. Then cut with the knife against a metal ruler. Use several light passes rather than one heavy one; forcing the blade through thick leather drags the edge out of line and leaves a ragged cut that no amount of burnishing will hide.
Cut away from your body, keep your fingers behind the ruler, and change the blade when it starts to skip. A blunt blade is more dangerous than a sharp one.
Preparing the Edges
Raw cut edges look unfinished, so deal with them before you stitch — it's far harder once the piece is folded and assembled.
Run the edge beveller along both long edges in one smooth pass, taking off the sharp corner. Then sand: 400 grit first, then 800, working along the edge rather than across it. Wet the edge lightly and burnish it briskly with a wooden slicker or a piece of canvas until the fibres mat down and the edge turns dark and glossy. A smear of gum tragacanth speeds this up. Finish with a rub of beeswax and a final buff.
Do the same on the rounded end. If the finish looks patchy, it usually means the edge wasn't sanded evenly, so go back a grit and start again.
Marking and Punching the Stitch Line
Set your wing divider to 3 mm and run it along both long edges. That faint line is your guide, and keeping to it is what makes a handmade piece look deliberate.
Now punch the holes. Lay the leather on the punching board and hold the chisel vertically — a chisel that leans produces holes that wander to one side, and the stitching will follow. Give it one confident mallet blow; tapping repeatedly tears the leather. To keep spacing even, drop the first tooth of the chisel into the last hole of the previous set before you strike again.
Punch both sides of the strap, stopping about 1 cm short of the fold so the ring has room to move.
The Saddle Stitch, Step by Step
Cut a length of thread roughly four times the length of the seam, thread a needle on each end, and you're ready. The saddle stitch is strong because each stitch locks the one before it.
- Push one needle through the first hole and pull until half the thread is through. Pass the second needle through the same hole from the opposite side. Both needles now hang on opposite faces of the leather.
- Take the right-hand needle through the next hole and pull it snug. Then take the left-hand needle through the same hole from the other side.
- Pull both threads firmly away from each other, always in the same order — right, then left. Consistency here is what keeps the seam even; alternating the pull lets the stitches twist.
- Continue to the end of the seam. Finish with two backstitches over the last holes, then trim the thread close to the leather. If you're using polyester, a brief touch with a lighter will seal the ends.
Don't over-tighten. If the leather puckers, you're pulling too hard, and the seam will never sit flat. Practise on an offcut until the rhythm feels natural — it takes about ten minutes to learn and a lifetime to perfect.
Run the second seam the same way. If your two sides look slightly different, that's normal on a first attempt, and it's the sort of thing you notice far more than anyone else will.
Hardware and Finishing
Fold the strap over the split ring so the rounded end meets the flat one, and glue the open end with a thin film of contact adhesive. Clamp it, wait for the glue to go off, then sand the joined end flush and burnish it as a single edge.
For a double-cap rivet, punch a hole through the leather, push the stem through and set it with the setter and anvil — two firm mallet blows, not a series of gentle taps. A copper rivet takes a little more work: slide the burr on, snip the stem about 3 mm above it, then peen the end over with light hammer blows until it forms a neat dome.
Finally, apply a thin coat of neatsfoot oil or a wax balm and buff with a cloth. Go sparingly — too much oil darkens the leather and softens it, and the keyring will stretch out of shape in a pocket. Check your stitches, trim any stray fibres, and it's done.
Work with dyes, oils and contact adhesive in a well-ventilated space and follow the manufacturer's instructions on the tin. Adhesives are flammable; keep them away from heat and store them safely.
Making the Next One
Make three more before you judge your skills. Vary one thing each time: a narrower strap, a different thread colour, a contrasting second layer glued and stitched to the back, a D-ring instead of a split ring. Saddle stitching is mostly muscle memory, and the improvement between keyring one and keyring four is startling.
From there, the same techniques scale up without much trouble — cardholders, belts, dog collars and simple bags are all variations on cutting straight, finishing edges and stitching a seam. Buy good tools one at a time as a project demands them, keep your blade sharp, and hold on to your early pieces. They're the best record you'll ever have of how far you've come.
Photo: Pexels / Pixabay